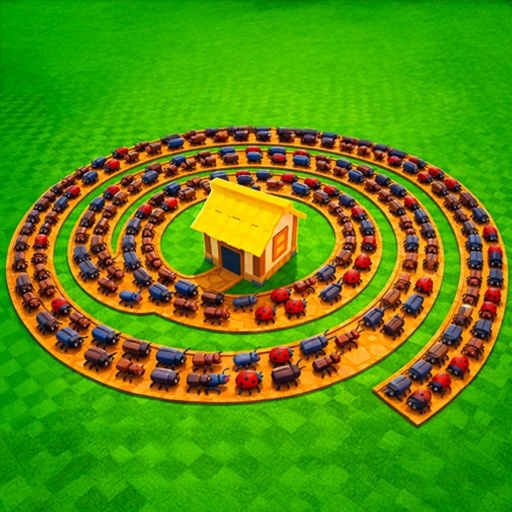
How to Play Stop The Bugs
Last verified: July 2026
Welcome to [🐛] Stop The Bugs — a Roblox tower defense game by Super Defence where up to 6 players defend a shared townhall from waves of bugs. If you have never played a tower defense game before, this guide walks you through your entire first session: joining a server, buying your first turret, upgrading your townhall, and reaching wave 10 with a solid foundation for mid-game progression.
Step 1: Join a Server
Launch Stop The Bugs from the official Roblox game page. Choose any public server — co-op lobbies with other active players often progress faster than empty solo servers because shared defense covers more path segments. Once loaded, you spawn near the townhall with a default Wooden Sword and starting cash. Familiarize yourself with controls before wave one begins.
Step 2: Buy and Place Your First Turret
Open the turret shop from the HUD and purchase a Starter Turret — the cheapest automated defense available. Walk to the nearest bug path segment and click a valid placement node. You should see a range preview circle before confirming. Place the turret on the earliest path segment where bugs enter your territory. Immediately upgrade this Starter Turret once — upgrading before buying a second turret is the single most important early-game rule explained in our upgrade priority guide.
Step 3: Survive Waves 1–5
Waves 1–5 feature low-HP bugs that one upgraded Starter Turret handles comfortably. Between waves, use your sword (left-click on PC, tap on mobile) to clean up any stragglers that leak through. Do not spend cash on weapon crates yet — save everything for townhall level 2. Watch your townhall HP bar; if it drops below 80%, prioritize turret upgrades over saving.
Step 4: Upgrade Townhall to Level 2–3
Approach the townhall or click its HUD icon to open upgrade options. Purchase townhall level 2 before wave 5 — this increases HP and unlocks Rapid Turret access. Continue to level 3 before wave 10 for Sniper Turret unlock and bonus cash per wave. Full milestone details are in our townhall levels chart and upgrade tutorial.
Step 5: Expand Your Defense (Waves 6–10)
Buy a Rapid Turret for swarm control around wave 6 when bug clusters appear. Add a Sniper Turret near the townhall once unlocked at townhall level 3 — Snipers focus high-HP targets that threaten your base. Begin upgrading your Sniper to mid-tier. Avoid spamming additional Starter Turrets; quality over quantity wins in Stop The Bugs. Consult the turret tier list for long-term priorities.
Step 6: Learn the Economy Loop
Every bug killed and wave completed earns cash. Cash funds turrets, townhall upgrades, and eventually weapon crates. The core loop is: survive wave → earn cash → invest in highest-impact upgrade → survive harder wave. Use our upgrade planner between waves if unsure where to spend. The Double Cash gamepass doubles this income permanently if you decide to invest Robux later.
Step 7: First Session Goals Checklist
- Place and upgrade one Starter Turret
- Reach townhall level 3
- Survive to wave 10
- Own at least one Sniper Turret at mid-tier
- Understand the upgrade-before-expand rule
What to Learn Next
After wave 10, read our turret placement guide for chokepoint layouts, cash farming strategies for faster progression, and weapon crates guide for when to start opening crates. Check active codes periodically for free rewards when Super Defence enables code redemption.
Related Pages
Frequently Asked Questions
What do I do first in Stop The Bugs? +
Buy a Starter Turret, place it on the bug path, upgrade it once, then push townhall to level 2 before wave 5.
How many players can play together? +
Up to 6 players defend one shared townhall in co-op lobbies.
Should I open weapon crates early? +
Not in your first session. Save cash for turrets and townhall until wave 10+.
What happens when townhall HP reaches zero? +
The run ends. All players lose regardless of remaining turrets.
Is Stop The Bugs hard for beginners? +
Waves 1-10 are forgiving with proper turret placement. Follow this guide for a smooth first session.