Stop The Bugs Turret Placement Guide
Last verified: July 2026
Even S-tier turrets underperform when placed poorly. Stop The Bugs rewards players who understand bug pathing, range overlap, and chokepoint geometry — the same fundamentals that separate veteran Roblox tower defense players from beginners who wonder why their expensive Laser Turret barely fires. This placement guide covers foundational positioning rules, turret-specific tips for each type in our turret tier list, and co-op considerations when up to six players share one townhall.
Core Placement Principles
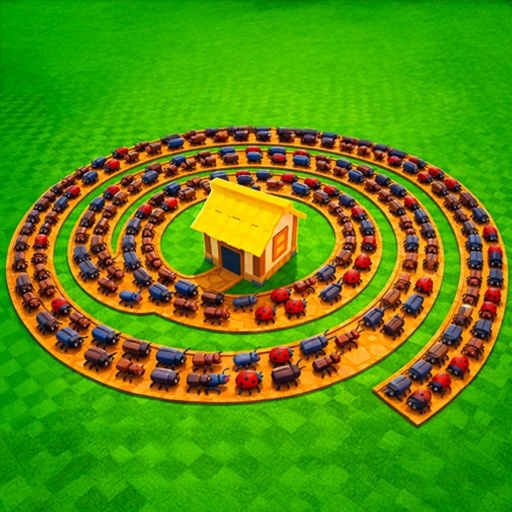
Chokepoints first. Every map in Stop The Bugs routes bugs through predictable paths toward your townhall. Identify the narrowest segment where enemies stack — usually a corner, bridge, or gate — and concentrate area-of-effect turrets like Flame Turret there. Single-target turrets such as Sniper Turret belong closer to the townhall where they can focus fire on survivors that leak through outer layers.
Maximize overlap without redundancy. Two turrets covering the same path segment from different angles often outperform two turrets placed sequentially on a straight line. Enemies spend more time inside combined range circles when fire comes from multiple directions. However, avoid placing three identical turrets on the exact same spot — diversify roles instead.
Inner defense is your safety net. Reserve at least one high-DPS slot near the townhall for emergency cleanup. When a wave overwhelms outer defenses, inner Shock or Laser Turrets buy seconds for your sword cleanup — especially important if you have not rolled a strong weapon from weapon crates yet.
Placement by Turret Type
Starter Turret: Place on the earliest path segment you can afford. Upgrade once, then plan its replacement by wave 10. Starter Turrets are temporary — do not build your entire layout around them.
Rapid Turret: Position at the first wide segment where bugs spread into clusters. Rapid Turrets excel when multiple low-HP enemies enter range simultaneously. Move or replace them once tankier bugs appear around wave 15.
Sniper Turret: Place with unobstructed line of sight to the townhall approach. Snipers prioritize high-HP targets automatically in most Roblox TD implementations — ensure they can see the path segment where mini-bosses typically appear. Elevation advantages matter if the map includes height variation.
Flame Turret: Mandatory at primary chokepoints. The longer bugs remain in flame range, the more tick damage accumulates. Never place Flame Turrets on the first path tile where enemies enter at full speed — place them after a turn where movement slows naturally.
Shock Turret: Inner-to-mid path placement maximizes chain lightning bounces between clustered enemies. Shock Turrets near the townhall slow fast leaks that would otherwise one-shot your base HP during late waves.
Laser Turret: Endgame anchor placed where it maintains continuous fire on the highest-HP target. Lasers need sustained contact — avoid placement on short path segments where enemies pass through in under two seconds unless paired with slow effects from Shock Turrets.
Early, Mid, and Late Layouts
Waves 1–10 (Early): One upgraded Starter Turret on the outer path, save second slot for Rapid Turret by wave 5. Keep cash reserves for townhall level 2–3 upgrades per our townhall upgrade guide.
Waves 11–20 (Mid): Flame Turret at primary chokepoint, Sniper Turret near townhall, begin Shock Turret if unlocked at townhall level 5. Sell or stop upgrading lower-tier turrets that occupy premium slots.
Waves 21+ (Late): Full inner ring of Shock and Laser Turrets with Flame coverage on outer chokepoint. Every placement slot unlocked through townhall levels should hold a maxed mid-tier or higher turret. Use our upgrade planner to sequence purchases.
Co-op Placement (Up to 6 Players)
Stop The Bugs supports six players defending one shared townhall. Communication prevents duplicate coverage — assign outer path to one player, chokepoint to another, inner ring to a third. Splitting turret purchases evenly often beats one player hoarding cash while others carry with swords alone. Coordinate townhall upgrade timing so unlocks benefit the whole lobby, not just one player's corner of the map.
If playing with strangers, default to covering gaps rather than stacking on the same segment. A balanced ring defense survives longer than a single overfed chokepoint with uncovered leak paths on the opposite side.
Common Placement Mistakes
Placing all turrets on the outermost path tile wastes DPS on enemies that would die anyway from later turrets. Ignoring townhall proximity leaves you vulnerable to fast leaks. Buying new turrets instead of repositioning when pathing changes after townhall upgrades. Forgetting to check range circles before confirming placement — always preview coverage before spending cash.
Related Pages
- Turret tier list — which turrets to place first
- Turret upgrade priority — max before expanding
- How to place turrets guide — step-by-step walkthrough
- Controls reference — placement hotkeys and camera tips
Frequently Asked Questions
Where should I place my first turret? +
Place your first Starter Turret on the earliest bug path segment you can reach. Upgrade it once before buying a second turret.
What is a chokepoint in Stop The Bugs? +
A chokepoint is the narrowest path segment where bugs stack together. Flame and Shock Turrets perform best at these locations.
Should Sniper Turrets go near the townhall? +
Yes. Snipers near the townhall focus fire on high-HP leaks and mini-bosses that survive outer defenses.
How do I place turrets in co-op? +
Cover different path segments to avoid overlap. Communicate purchases so the team fills outer, mid, and inner rings evenly.
Can I move turrets after placing them? +
Check in-game for sell or reposition options. If selling is available, recoup partial cost and relocate to better chokepoints as your layout matures.